
⚠️ Warning
This guide is for players that do not have the Sinclair Solutions Deluxe DLC installed.
If you have the DLC content installed use this mini-guide instead: SSD - Mouse Sensitivity Fix
Mouse Sensitivity Fix
This guide explains how to fix the mouse sensitivity being too fast by modifying keybinds within the "UserMP.ini" config file.
Navigate to UserMP.ini
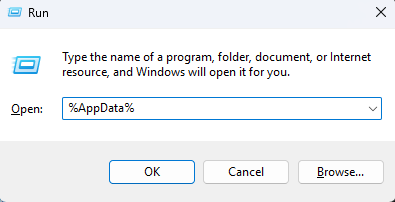
Press
Windows+Rto open the Windows Run DialogType
%AppData%into the text box.Press
Enter. This will open the "AppData" folder.
Within the "AppData" folder, double-click the folder called "Bioshock2Steam".
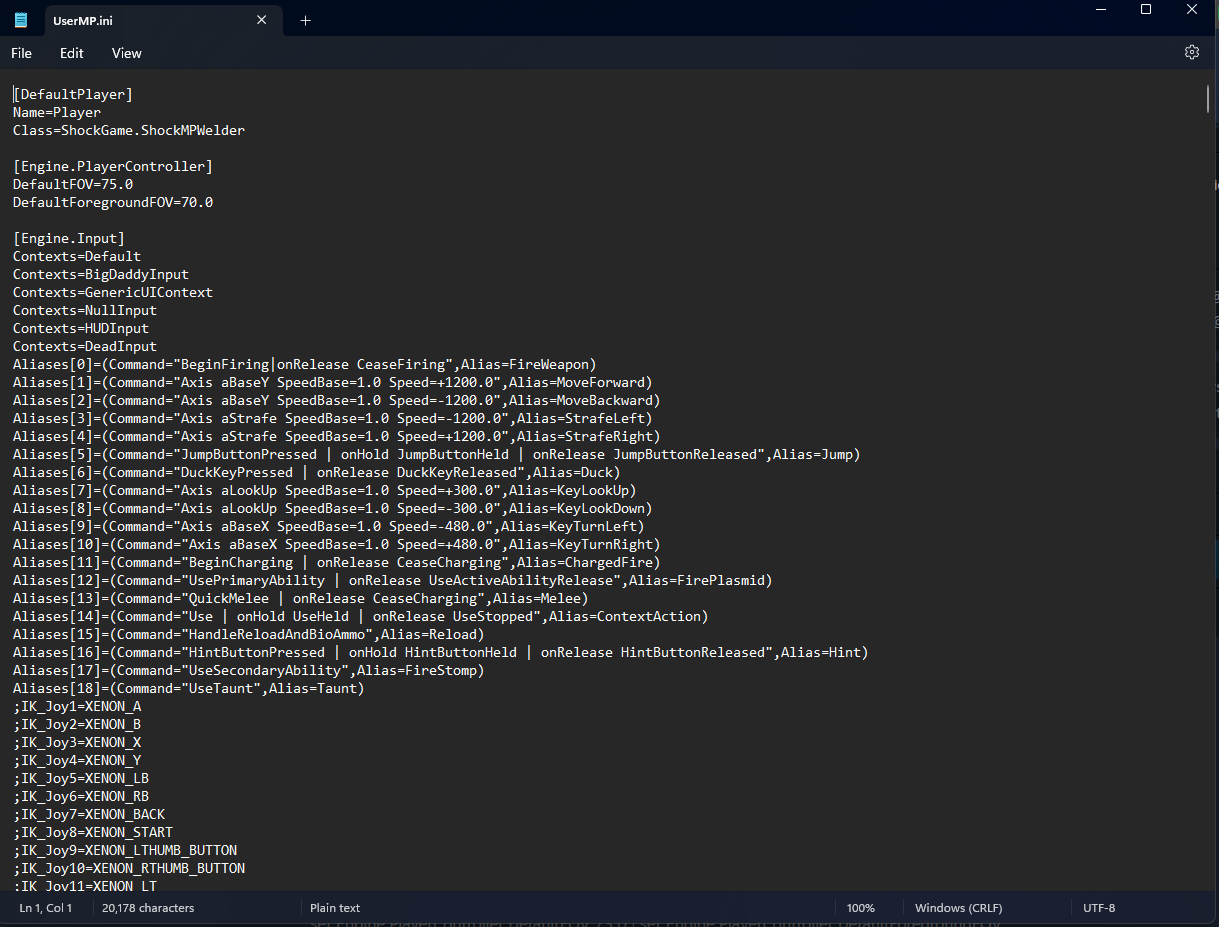
Within the "Bioshock2Steam" folder, open the file "UserMP.ini" in any text editor.
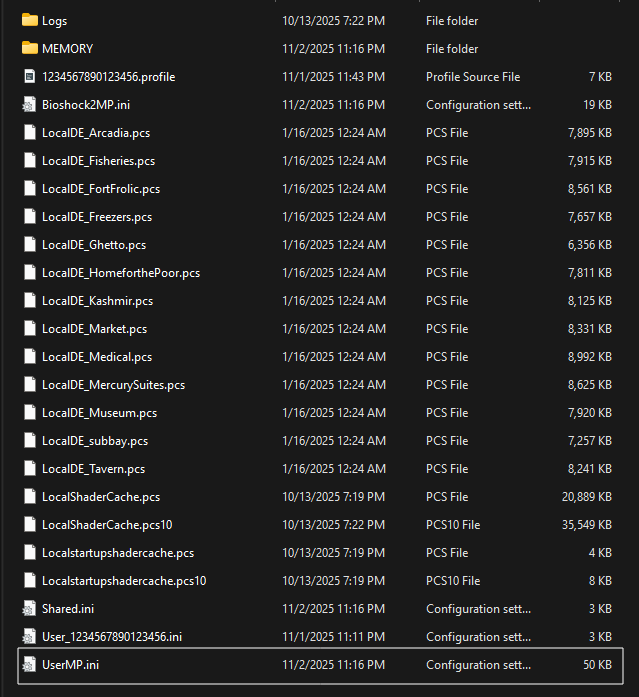
The file should look similar to this once opened.
Edit Keybinds
MouseX and MouseY
These first few steps will have you modifying the values of 10 different keybinds within the UserMP.
With "UserMP.ini" open, press
Ctrl+Fto open the search box.Type
aMouseXinto the text field, then pressEnter. This will bring you to the first pair of keybinds,MouseXandMouseY, which should resemble this:
MouseX=IF_MOUSE_LOOK_ENABLED Count bXAxis | IF_MOUSE_LOOK_ENABLED Axis aMouseX Speed=2000.0
MouseY=IF_MOUSE_LOOK_ENABLED Count bYAxis | IF_MOUSE_LOOK_ENABLED Axis aMouseY Speed=2000.0- Modify both lines, replacing 2000.0 with 200.0, so that it resembles this:
MouseX=IF_MOUSE_LOOK_ENABLED Count bXAxis | IF_MOUSE_LOOK_ENABLED Axis aMouseX Speed=200.0
MouseY=IF_MOUSE_LOOK_ENABLED Count bYAxis | IF_MOUSE_LOOK_ENABLED Axis aMouseY Speed=200.0📝 Note
Although 200.0 is recommended and most commonly used by the game's playerbase, any value can be used in place of 2000.0, depending on your preference.
- The term
aMouseXappears in five places in the file. Repeat Step 3 for the remaining fourMouseXandMouseYkeybind pairs, modifying both lines as above.

- Save the file, either by pressing
Ctrl+Sor choosing "File > Save" from the menu bar.
Disable Mouse Acceleration and Smoothing
Now that your sensitivity values have been adjusted, let’s disable mouse acceleration and mouse smoothing to give you even greater control over your aim.
Press
Ctrl+Fto open the search box again.Type
Alias=MoveForwardinto the text field, then pressEnter. This will bring you to the following line:
Aliases[1]=(Command="Axis aBaseY SpeedBase=1.0 Speed=+1200.0",Alias=MoveForward)- Replace this line by copying and pasting the following line in its place:
Aliases[1]=(Command="Axis aBaseY SpeedBase=1.0 Speed=+1200.0 | set PlayerInput MouseAccelThreshold 0.0 | set PlayerInput MouseSmoothingMode 0",Alias=MoveForward)- Save the file, either by pressing
Ctrl+Sor choosing "File > Save" from the menu bar.
Change the In-Game Sensitivity
Launch the game.
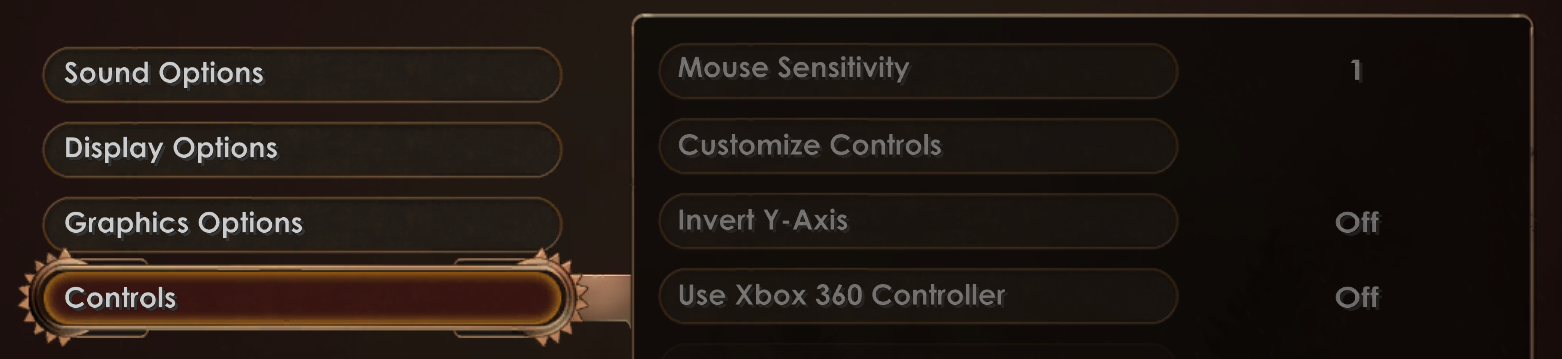
From the main menu, select "Options > Controls".
Under "Mouse Sensitivity", change the value from 3 to 1.
📝 Note
While players may choose any in-game sensitivity, 1 provides the most aim control once the fixes have been applied.
- Press
Acceptto save the changes.
Verify Fix
After applying the changes to "UserMP.ini" and changing the in-game sensitivity, you should verify whether the fix was applied correctly.
Launch the game and create a private match.
Start the match. Once the match begins, use your mouse to look around and test how the sensitivity feels.
If the sensitivity feels too fast or too slow, repeat the steps above to adjust the sensitivity values in "UserMP.ini" or in the Options menu.
📝 Note
After modifying any files, the game must be restarted for the changes to take effect.