Controller Button Remapping
The controller buttons cannot be remapped from the in-game menus, and must instead be changed by modifying a config file.
Navigate to User_SteamId.ini
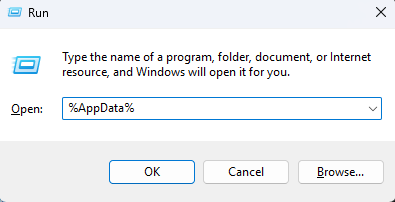
Press
Windows+Rto open the Windows Run DialogType
%AppData%into the text box.Press
Enter. This will open the "AppData" folder.
Within the "AppData" folder, double-click the folder called "Bioshock2Steam".
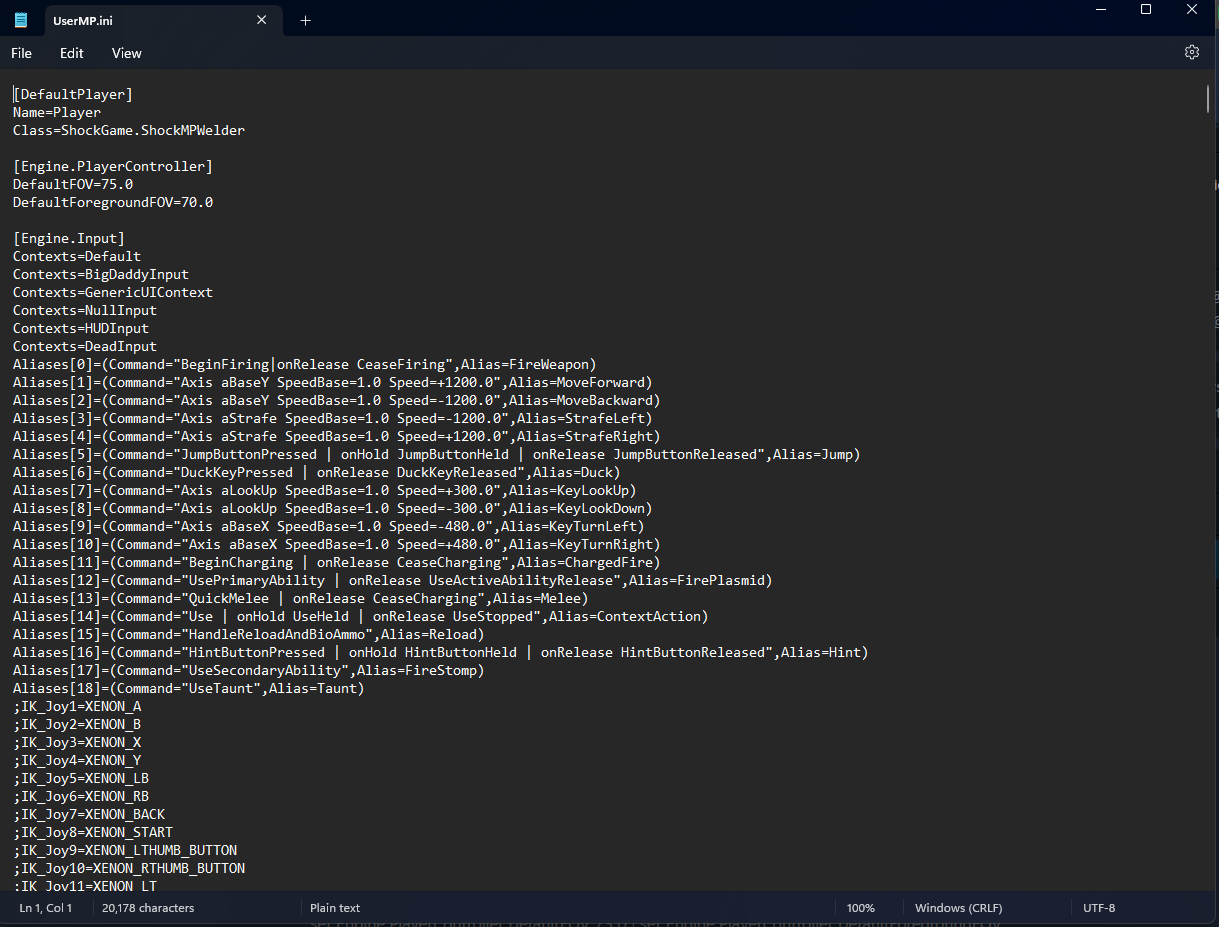
Within the "Bioshock2Steam" folder, open the file "UserMP.ini" in any text editor.
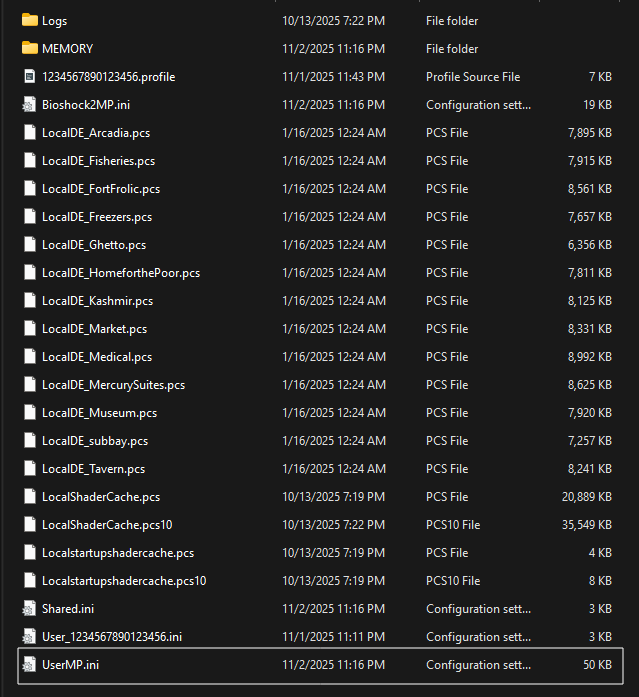
Once opened, the file should resemble this:
Default Button Layout
With "UserMP.ini" open, we will navigate to the part of the file containing the controller keybinds. There are two sets of keybinds to change, one for while the player is a splicer and one for while the player is a Big Daddy.
The controller keybinds all begin with "XENON", and apply to both Xbox and PlayStation controllers. The keybinds are defined according to the following table:
| UserMP Keybind | Xbox | PlayStation | Default Action (Splicer) | Default Action (Big Daddy) |
|---|---|---|---|---|
| XENON_A | A | × | Context action | - |
| XENON_B | B | ○ | Melee | Melee |
| XENON_X | X | ◻ | Reload | - |
| XENON_Y | Y | △ | Jump | Stomp |
| XENON_LB | LB | L1 | Swap plasmid | Stomp |
| XENON_RB | RB | R1 | Swap weapon | - |
| XENON_LT | LT | L2 | Fire plasmid | Throw mine |
| XENON_RT | RT | R2 | Fire weapon | Fire weapon |
| XENON_LTHUMB_BUTTON | LS | L3 | Crouch | - |
| XENON_RTHUMB_BUTTON | RS | R3 | Zoom weapon | Zoom weapon |
| XENON_START | START | START | Pause menu | Pause menu |
| XENON_BACK | BACK | SELECT | Scoreboard | Scoreboard |
| XENON_DPAD_LEFT | Left D-Pad | Left D-Pad | - | - |
| XENON_DPAD_RIGHT | Right D-Pad | Right D-Pad | - | - |
| XENON_DPAD_UP | Up D-Pad | Up D-Pad | Big Daddy sound | Big Daddy sound |
| XENON_DPAD_DOWN | Down D-Pad | Down D-Pad | - | - |
Change Splicer Controls
Press
Ctrl+Fto open the search box.Type
XENON_Y=Jumpinto the text field, then pressEnter. This will bring you to the splicer controller buttons.Identify the name of the commands you want to swap. For example, to swap the
AandYbuttons, we need to look at the command after the=in the following lines:
XENON_A=ContextAction
XENON_Y=Jump- Swap the command names of the buttons you want to change. For example, to swap the
AandYbuttons, the above lines would be modified to look like this:
XENON_A=Jump
XENON_Y=ContextAction- Once the desired buttons have been changed, save the file either by pressing
Ctrl+Sor choosing "File > Save" from the menu bar.
Change Big Daddy Controls
Press
Ctrl+Fto open the search box.Type
XENON_Y=CyclePlasmidinto the text field, then pressEnter. This will bring you to the Big Daddy controller buttons.Identify the name of the commands you want to swap. For example, to swap the left and right trigger buttons, we need to look at the command after the
=in the following lines:
XENON_LT=FirePlasmid
XENON_RT=FireWeapon- Swap the command names of the buttons you want to change. For example, to swap the left and right trigger buttons, the above lines would be modified to look like this:
XENON_LT=FireWeapon
XENON_RT=FirePlasmid- Once the desired buttons have been changed, save the file either by pressing
Ctrl+Sor choosing "File > Save" from the menu bar.
Verify Button Changes
After applying the changes to "UserMP.ini", you should verify whether the buttons were remapped correctly.
Launch the game and create a private match.
Start the match. Once the match begins, use your controller to test all the buttons that were changed.
If any buttons are not functional or are incorrectly assigned, try to repeat the steps above.
📝 Note
After modifying any files, the game must be restarted for the changes to take effect.
Video Guide
A video guide is available if you need additional assistance.